* Understanding the Driver Management Box
Version 4.6.6.5: Understanding the Driver Management Box
As emphasized in preceding videos, this session's title appears in blue, signifying that the information presented pertains exclusively to the product and does not necessitate user replication during this tutorial. The functionalities discussed herein are not integrated into the ongoing model under development. Our current schema comprises a provider and a driver, designed to allow the driver's direct insertion into the schema as both a source and destination.
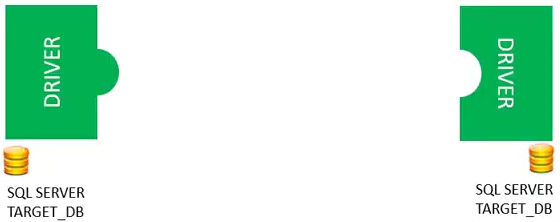
However, it's imperative to note that, to date, no explicit designation of the driver as source or destination has been made. We now introduce the driver, the second fundamental component after the provider. Unlike the provider, the driver encompasses a broader array of properties, underscoring its complexity and versatility within the system.
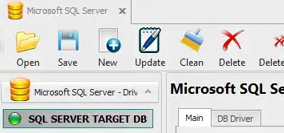
We will delve deeper into this interface to bolster understanding of how PIS organizes and manages its components. Many of the features learned here will apply similarly when introduced to future components, streamlining the process of familiarizing oneself with the system. The driver maintenance interface showcases an array of useful tools:

- OPEN: Opens an external file containing driver settings.
- SAVE: Stores driver settings in an external file.
- NEW: Initiates the creation of a new driver.
- UPDATE: Updates an existing driver.
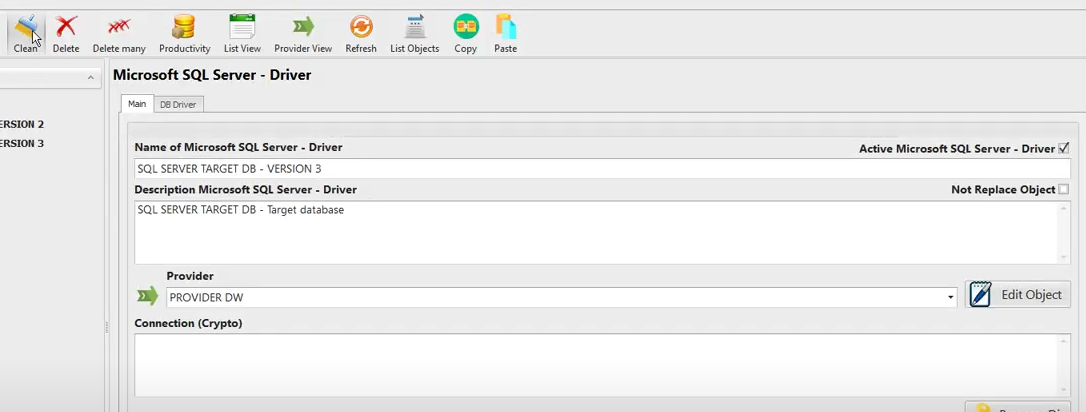
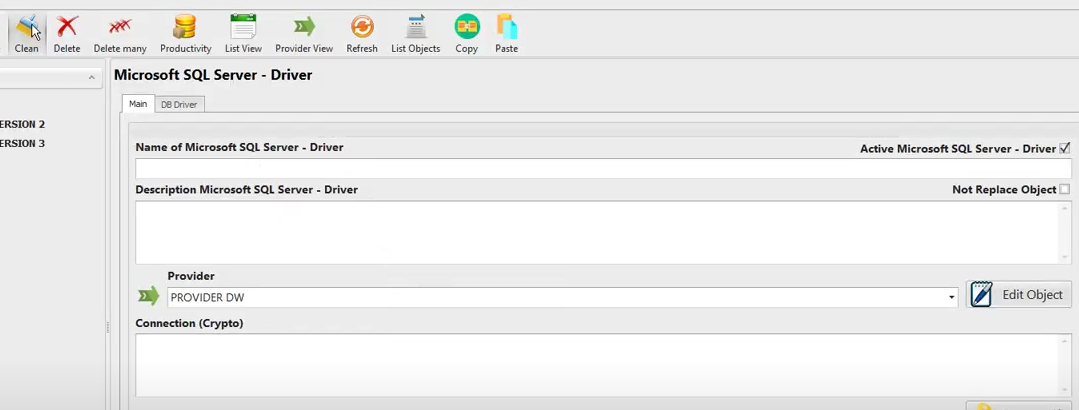
- CLEAN: Clears a driver's current settings.
- DELETE: Removes the driver from the metadata.
- DELETE MANY: Deletes multiple drivers simultaneously.
- PRODUCTIVITY: Generates a container from the selected driver.
- LIST VIEW: Displays drivers in list format.
- PROVIDER VIEW: Organizes drivers by provider.
- REFRESH: Refreshes the driver display.
- LIST OBJECTS: Presents an overview of existing drivers through a grid with navigation options.
- COPY: Facilitates copying driver data.
- PASTE: Facilitates pasting driver data.
You will observe that many toolbar functionalities are replicated across other components that will be subsequently introduced. On the left, a list of registered drivers is presented.
These drivers can be organized sequentially, by providers, or by date. Organizing by date is not visible in the driver interface, and this option is available in certain PIS components, varying depending on the software version. The primary tab contains key driver information:
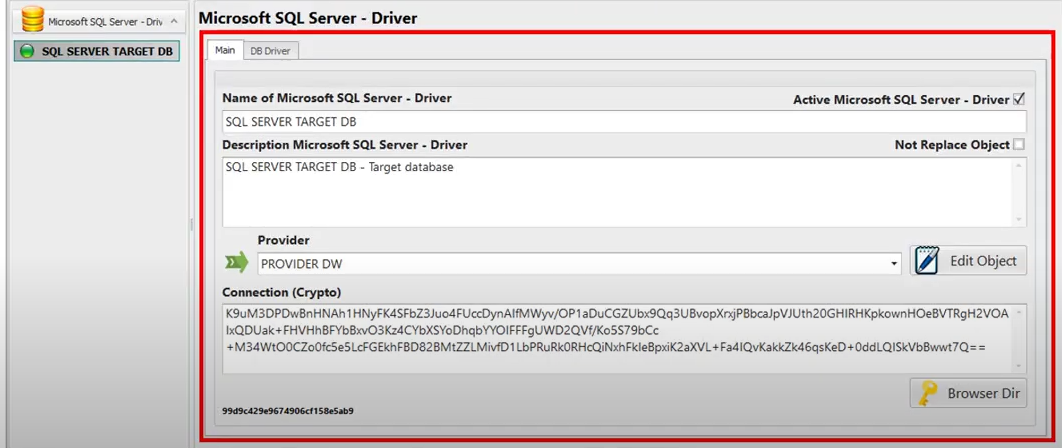
- NAME: A concise name that clearly identifies the component.
- DESCRIPTION: A detailed description aiding in understanding the driver.
- PROVIDER: Selection of the provider linked to the driver.
- CONNECTION: The encrypted connection string.
On the right side, a checkbox activates or deactivates the driver. The "NOT REPLACE OBJECT" option, if selected, prevents modification of the driver data when updated through a backup, preserving the original data.
The "EDIT OBJECT" button allows access to the provider screen for additional details, while the "BROWSER DE" button copies the encrypted connection string. In the "DBDRIVER" tab, detailed connection information with the database is provided:
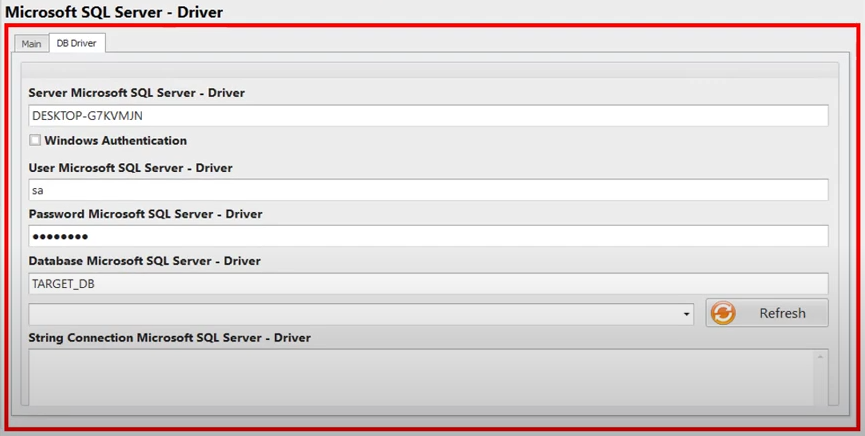
- SERVER: Name of the database server.
- WINDOWS AUTHENTICATION: Option to use Windows authentication.
- USER: User to connect to SQL Server.
- PASSWORD: Access password.
- DATABASE: Selection of the database.
- STRING CONNECTION: Direct use of the connection string.
The "REFRESH" button updates the database list. The button located in the lower right corner is utilized to test the established connection.
Let's explore some features of the driver screen to better understand navigability dynamics, not only in this component but in all other components related to PIS that we will learn about.
On the screen is a selected driver. If no action is taken and "NEW" is clicked again, another driver is created with the same name. However, it's essential to note that these are two distinct drivers, each identified by its internal ID. The internal ID changes when switching between drivers.
It's advisable to avoid this practice because, often, the difference between one driver and another is not apparent from the name alone. By selecting either driver, modifying it, and clicking "UPDATE," the drivers can be differentiated by name.
Alternatively, the properties of the driver can be saved externally. Clicking on the newly created driver and selecting "SAVE" presents two options: saving it locally or on the server. Locally, the file is stored on the local machine, while on the server, it resides in an internal directory.
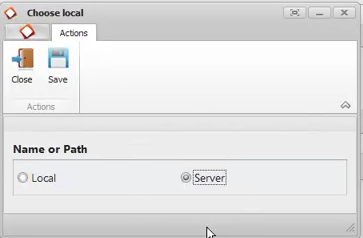
The user chooses the location and clicks "SAVE" to specify the directory and save the file. Upon navigating to that directory, it contains all the information in JSON format for that object, in this case, the driver.
Returning to the tool, if the user selects the same driver saved and clicks "DELETE," it will be removed. However, if "OPEN" is used, the location is selected, "SAVE" is clicked, and the saved driver is chosen, it can be recovered upon opening.
Version 3 of the driver is created by clicking "NEW," resulting in three saved drivers. If the user wants to edit a new driver without utilizing any specific selection, clicking "CLEAN" clears all information from the screen.
There are two ways to view the list of components: ListView or Provider. ListView displays components in list format, while Provider organizes them by provider.
In Provider view, components are listed according to their respective providers. Changes in this list require closing and reopening the view. Upon reopening, both providers will be displayed.
LIST OBJECTS provides a grid view of all driver information, facilitating management of a long list of components. Sorting and filtering options are available, and data can be saved in Excel or CSV formats.

Using COPY and PASTE, data can be easily transferred between drivers. The DELETE-MENU allows selection of several drivers for simultaneous deletion, streamlining the process.